On Saturday, I decided to tackle a job I'd been putting off for some time, that of removing layers of paint from one of the big beams supporting the living room ceiling. First, here's a quick look back to what the living room looked like in April 2011.
Things have changed a little. Walls removed, dry lining removed, wall plaster removed, ceiling plaster removed, cracked beam replaced, beams and stone sand blasted... you get the idea. But that beam, see in the photo above, was untouched throughout all of that.
I tried removing the paint with my Makita brush sander, but the nylon brushes, so effective on raw wood, just polished the paint. I tied with the sand blaster, but by the time the paint was removed, the wood had taken on a driftwood look, with soft fibres stripped away. Not so nice for the oak. On Saturday, I decided to give it a go with a braided wire brush attachment on an angle grinder.
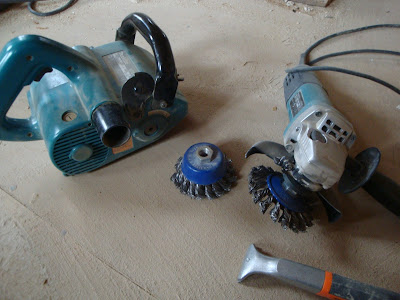 |
| Weapons of choice. |
Definitely tougher work than I imagined, and it took the guts of 5 hours to do the beam. Care had to be taken not to gouge into the wood, or leave the brush in one spot too long, as it could leave friction burn marks.
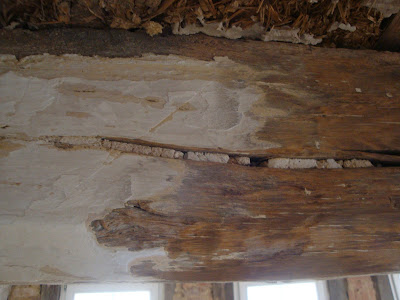 |
| Removing layers of paint revealed plaster-filled cracks in the timber. |
In the end, the results were just ok. Paint remains in the small cracks in the wood, and although testing with the brush and belt sanders, this stuff is not going to come out.
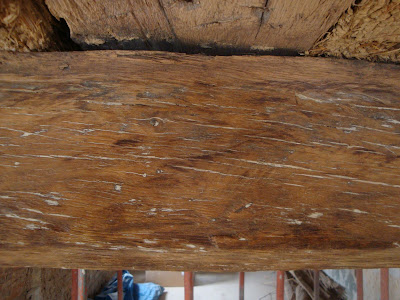 |
| Fissures still filled with paint. |
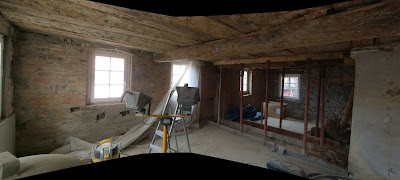 |
| The living room, March 2012. Click for full effect. |
So, is there a better way? I have another one just like this to do in the bedroom. I have a heat gun, but I'm not confident in the effectiveness on a mix of paint types (certainly emulsion and oil-based). I'm considering solvent-based paint remover, but don't relish the gooey messiness of that either.
Still, it's looking better. The new beam we inserted a few weeks ago has now been bedded in with bricks and mortar, so the supporting struts can come away next week.


