Almost two years ago, I had my
first experience using a sand-blaster. We used it a lot for cleaning off oak beams in the upper levels of the house,
to great effect, and a cursory clean of the walls in the cellar. Since then, the blaster went on its merry way, but we needed to call on its services again this weekend, to do a proper job on the cellar walls. Initially, we'd thought to simply clean the walls enough so that new plaster would hold, but then decided it would be better for the walls if they were left as natural as possible so any dampness coming from the foundation would find it easier to escape. My wife had spent a couple of weeks knocking the remaining plaster off the walls, but they needed a deep clean before we could repoint.
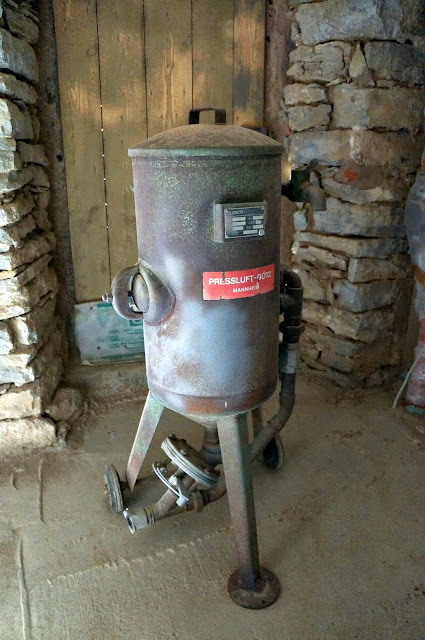 |
| My old friend. |
It's dirty, sweaty work, but enjoyable in its own way, as you see results quick. Well, once the dust has settled, which takes some time when blasting clay and plaster off walls in an enclosed space. But, it needed to be done before the heating equipment gets installed in cellar 4, and that, we hope, will be done in time for winter.
First, a look back to the type of thing we got back in late 2010.
 |
| Cellar 1 |
 |
| Cellar 4 |
Then how they looked a week ago.
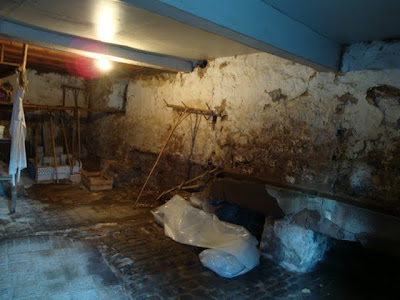
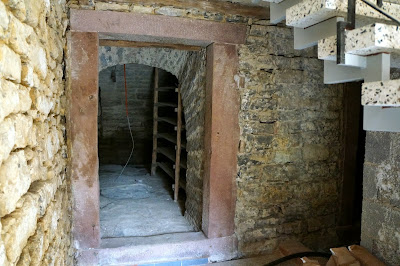
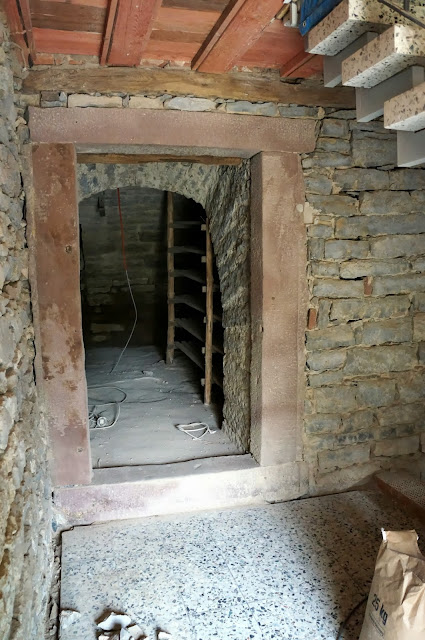
"Cellar 2" is in two parts, the entry hall, and behind that as mall vaulted cellar. The left wall of the entry hall, as seen below, has been plastered over, with a damp-proof membrane under the plaster. This was disastrous for the wood beam resting on the wall, hence a good idea to leave it free. After removing the plaster and some of the old mortar (more like clay), it looked better, but pretty manky dirty. We thought it had potential, though.
 |
| Cellar 2/Entry hall |
 |
| Cellar 2/Entry. The sandstone had already been blasted earlier. |
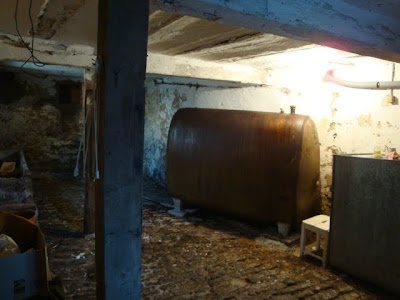
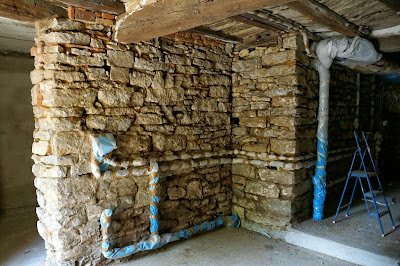
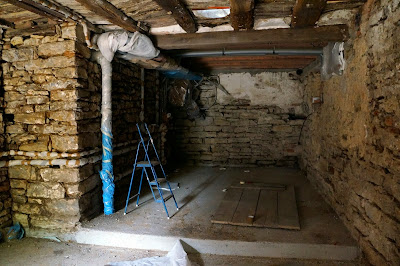
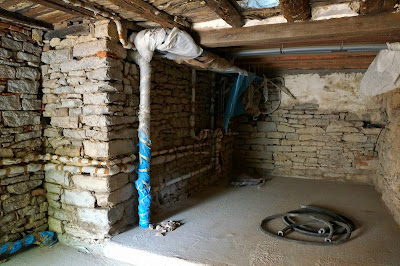
In cellar 4, the easternmost former stall, we'd already began with the waterworks installation, so everything had to be wrapped up and protected prior to blasting. There's quite a difference, even at the stage shown below, compared to what it was like when we first got it as seen above!
 |
| Cellar 4 |
 |
| Cellar 4 |
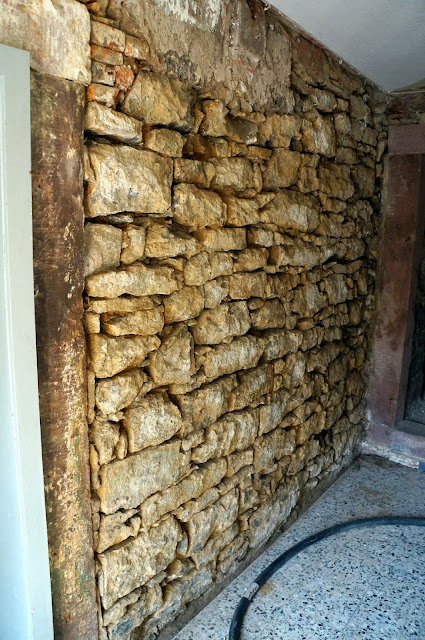
And the post-blasting shots. I think Cellar 1 is unrecognisable compared to what it was like in 2010. But it's still the messiest of all the cellars, and the floor will eventually have to be replaced, but that's on the very long finger.
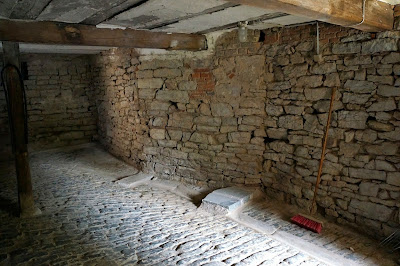 |
| Cellar 1 now. |
The entry hall is important, and it's a pity the stones aren't nicer, but I think it should come out well in the end.
 |
| Cellar 2/Entry hall |
 |
| Cellar 2/Entry hall |
Cellar 4 is going to be fun to repoint...
 |
| Cellar 4 |
 |
| Cellar 4 |
Difficult as it is to see through the dust, it wasn't helped by the visor on my mask getting frosted. Glad I have a backup, but I won't be blasting again!
All that was left to do was the cleanup. The used sand went to the neighbour's chickens...
 Almost two years ago, I had my first experience using a sand-blaster. We used it a lot for cleaning off oak beams in the upper levels of the house, to great effect, and a cursory clean of the walls in the cellar. Since then, the blaster went on its merry way, but we needed to call on its services again this weekend, to do a proper job on the cellar walls. Initially, we'd thought to simply clean the walls enough so that new plaster would hold, but then decided it would be better for the walls if they were left as natural as possible so any dampness coming from the foundation would find it easier to escape. My wife had spent a couple of weeks knocking the remaining plaster off the walls, but they needed a deep clean before we could repoint.


