Sunday 24 November 2013

Wall heating, stage 1

It's been a busy couple of weeks. As well as continuing with repointing and plastering the walls of cellar 4, the "Techniksraum", we made some major steps with the heating installation.


Having already started with the black panels (see photo above), which simply stuck on the the styrofoam internal insulation of the living room gable wall, the south wall, insulated with wood fibre board, had to be tackled. First step, a skim coating of special plaster (actually, the same sticky, glue-like paste that I used to stick the insulation boards to the wall) so the panels would adhere, as the fibre board doesn't bond like styrofoam.


 Once this had hardened, after a couple of days, the same uninsulated black panels were stuck on, and we could begin installing the wall heating pipes. Under the expert guidance of Sace Bakan, who did the more tricky sections, I was let loose. It's definitely more challenging than it looks, being like a big labyrinth, but once the basic principles are learned, it's quite fun. Though my speed will never match his!


Living room done.
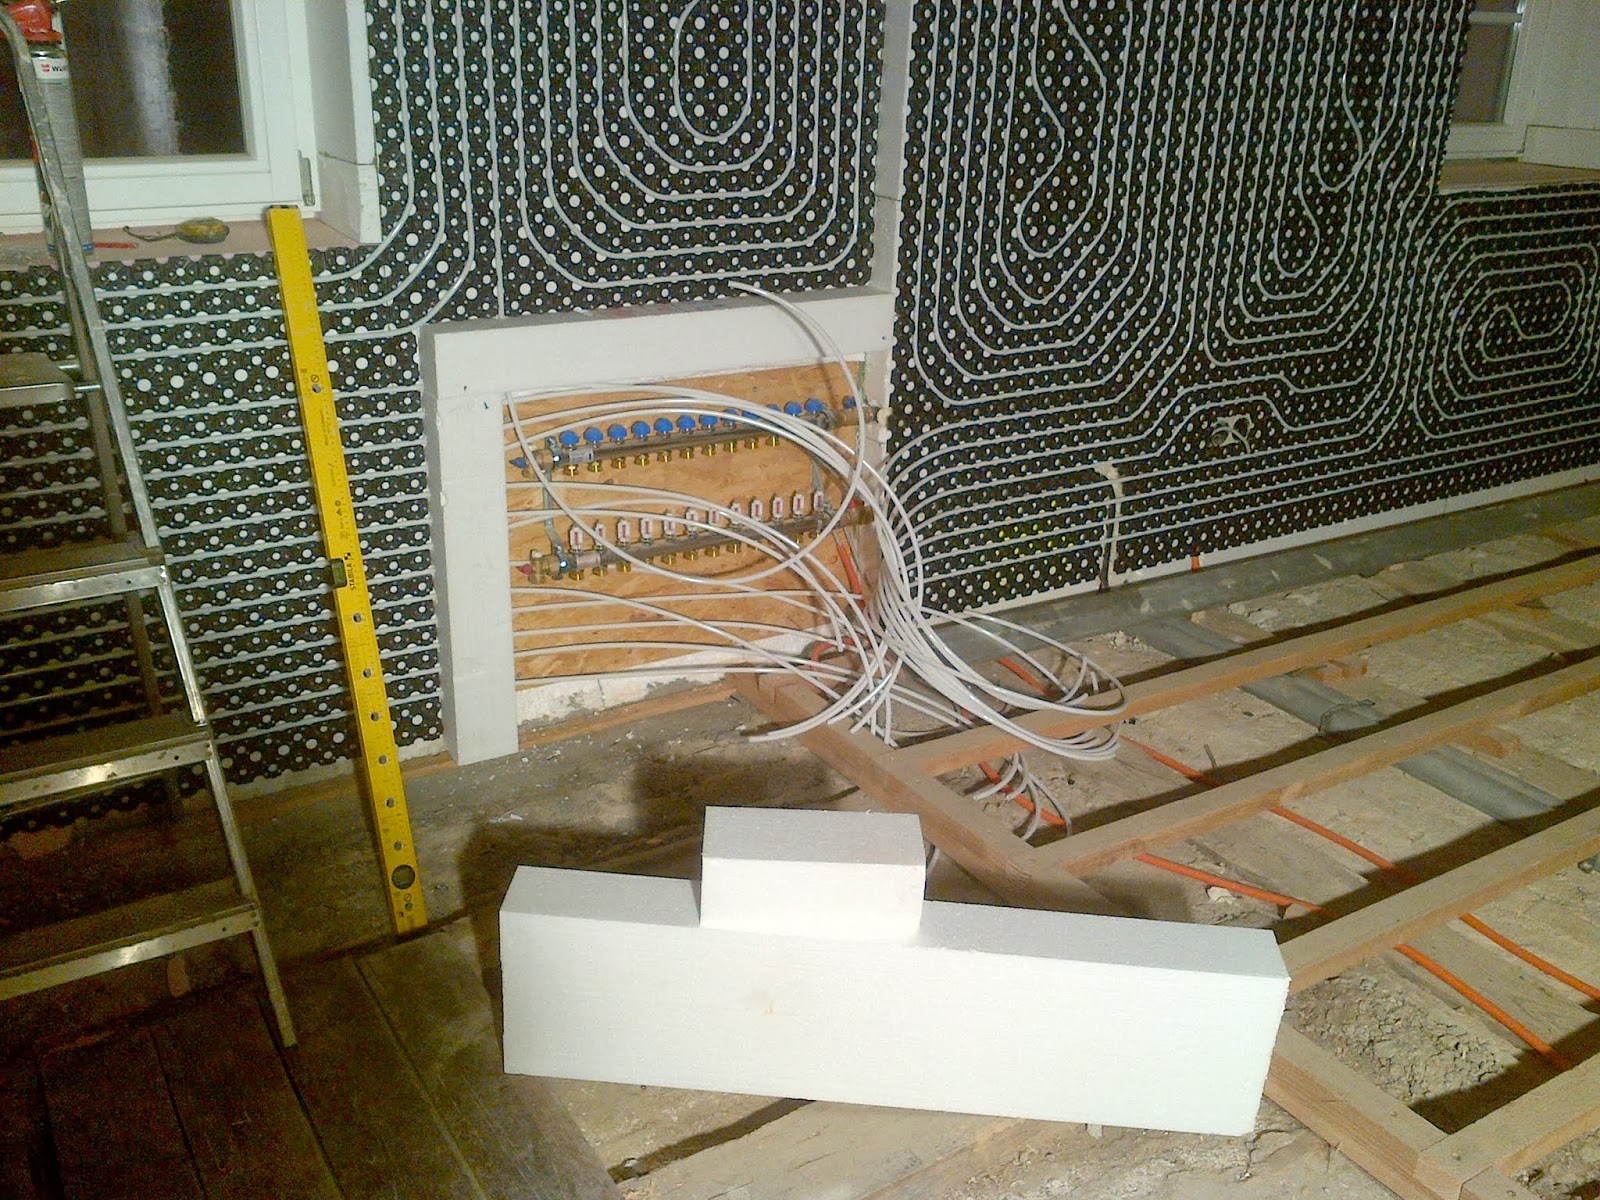
A little extra styrofoam to make a cabinet for the distributor.
The bedroom, on the other side of the house, had a slightly different configuration. The southern wall was insulated internally, using the same wood fibre boards on account of this being the half-timbered wall, while the eastern gable wall had been externally insulated. This meant that different wall heating panels had to be used, blue ones, this time, with a built-in, 1cm thick layer of styrofoam backing. This ensures that the wall heating doesn't heat the whole external wall, which would wick the heat away, and instead direct it solely into the plaster that will eventually envelope the whole system. After treating the walls with a plaster primer, to improve bonding, the panels were stuck on using foam


The small room to the north east of the bedroom got similar treatment, but this time only one wall, as it's small enough. The unheated wall will eventually have shelves or wardrobes in front of it, but this will probably be my home office for the first while.


The next steps will be to secure the panels more firmly to the walls using special wall plugs.

Last week, a man from the power company was in to install a new, dedicated meter for the heat pump, so it's all connected up and ready to run, once the spaghetti pipes are connected to the distribution manifolds. Looking forward to a bit of heat!

Sunday 3 November 2013

One step closer to heating

The Bakan boys (our local, friendly electricians and heating experts) were in for most of the short week last week, connecting up the air-source heat pump, the hot water cylinder, buffer storage and all the lovely manifolds, pumps and gauges. Even though we have yet to turn it all on (reasons below), I have to say, it looks fantastic. Lots of nice technology, really neatly done, all on a background of rustic walls. I think we've the prettiest technical room in the village, at least...


In the meantime, I've got a little further with the repointing and plastering, so this cellar room is nearly complete. Just needs power in for lights and sockets, a new window, a door, one more wall to re-point, then insulate the ceiling, oh, and paint the plaster, probably, and we're done! It'll be the first complete room in the house!
Just a little more left to do on this wall...
Heating-wise, my next job is to get the wall heating panels up. After getting some pointers from Sace Bakan, I made a start yesterday evening, sticking the panels on the already-insulated walls of the living room. Nice and easy, but just need to put a couple sockets more in, and a little base work, then can continue. Once that's done, we'll get the pipes in and turn on the heating for the first time.