This has been done for the entire first floor, which is just fantastic. The beams were uncovered during the week, so we could get a real feel for it. Skip to the bottom for a video, if you want a walkthrough!
 |
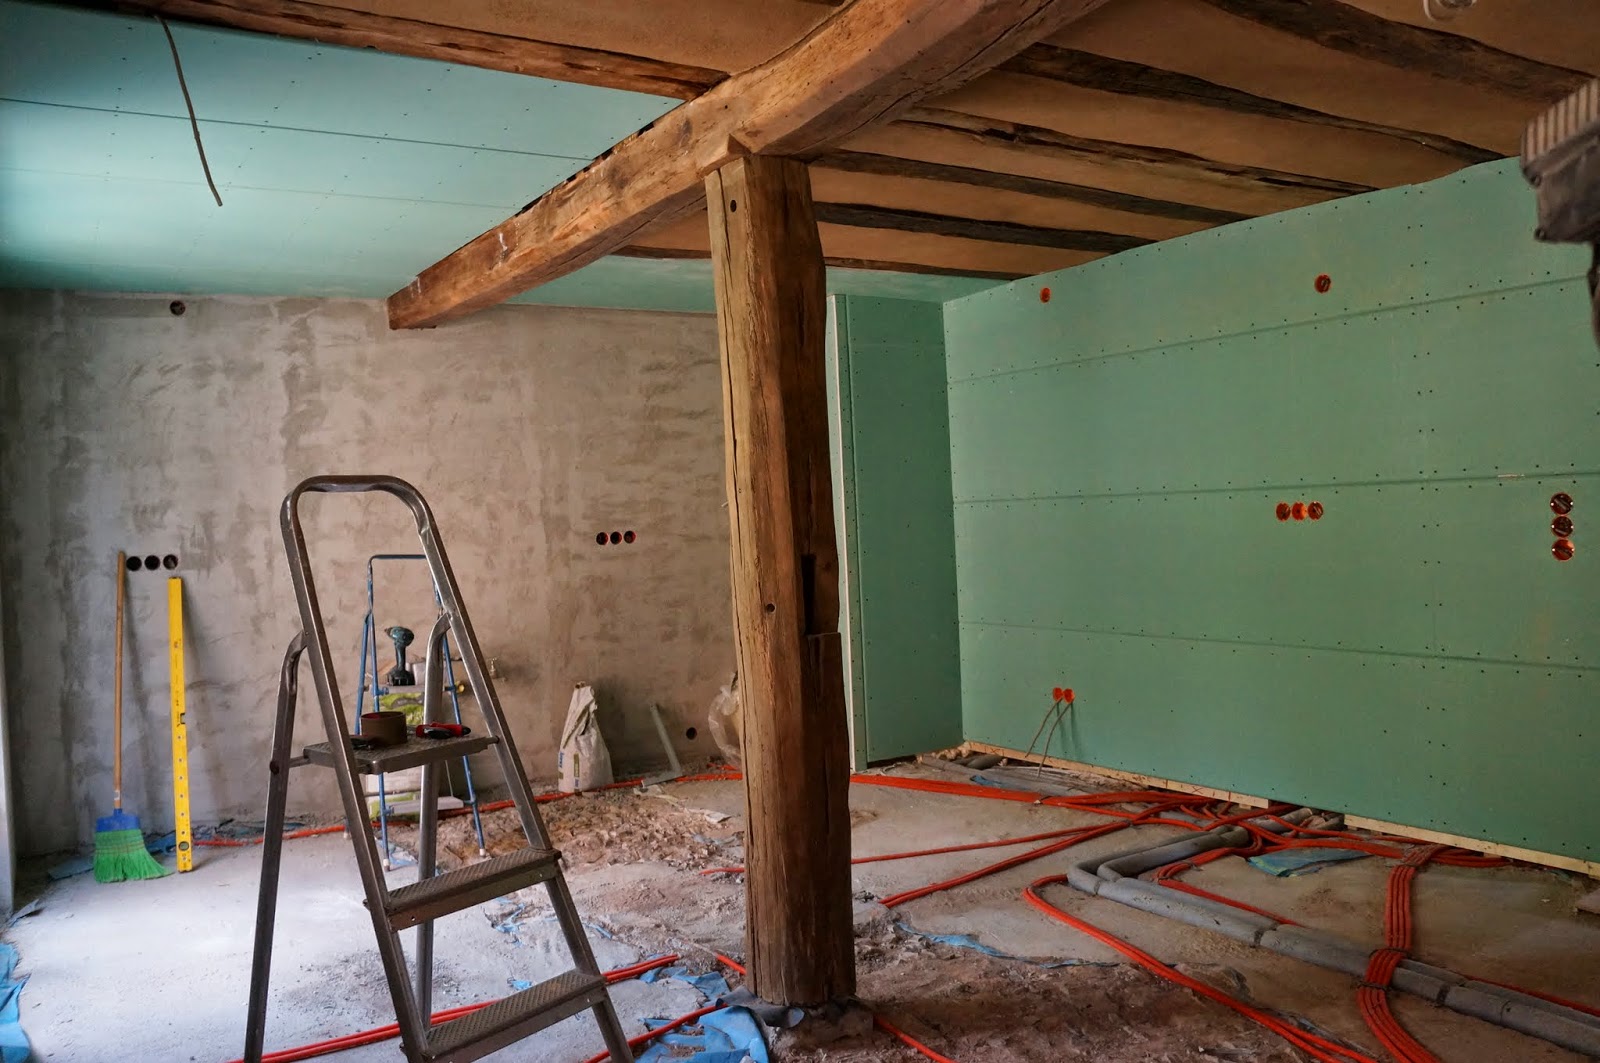
| Living room |
 |
| Living room |
 |
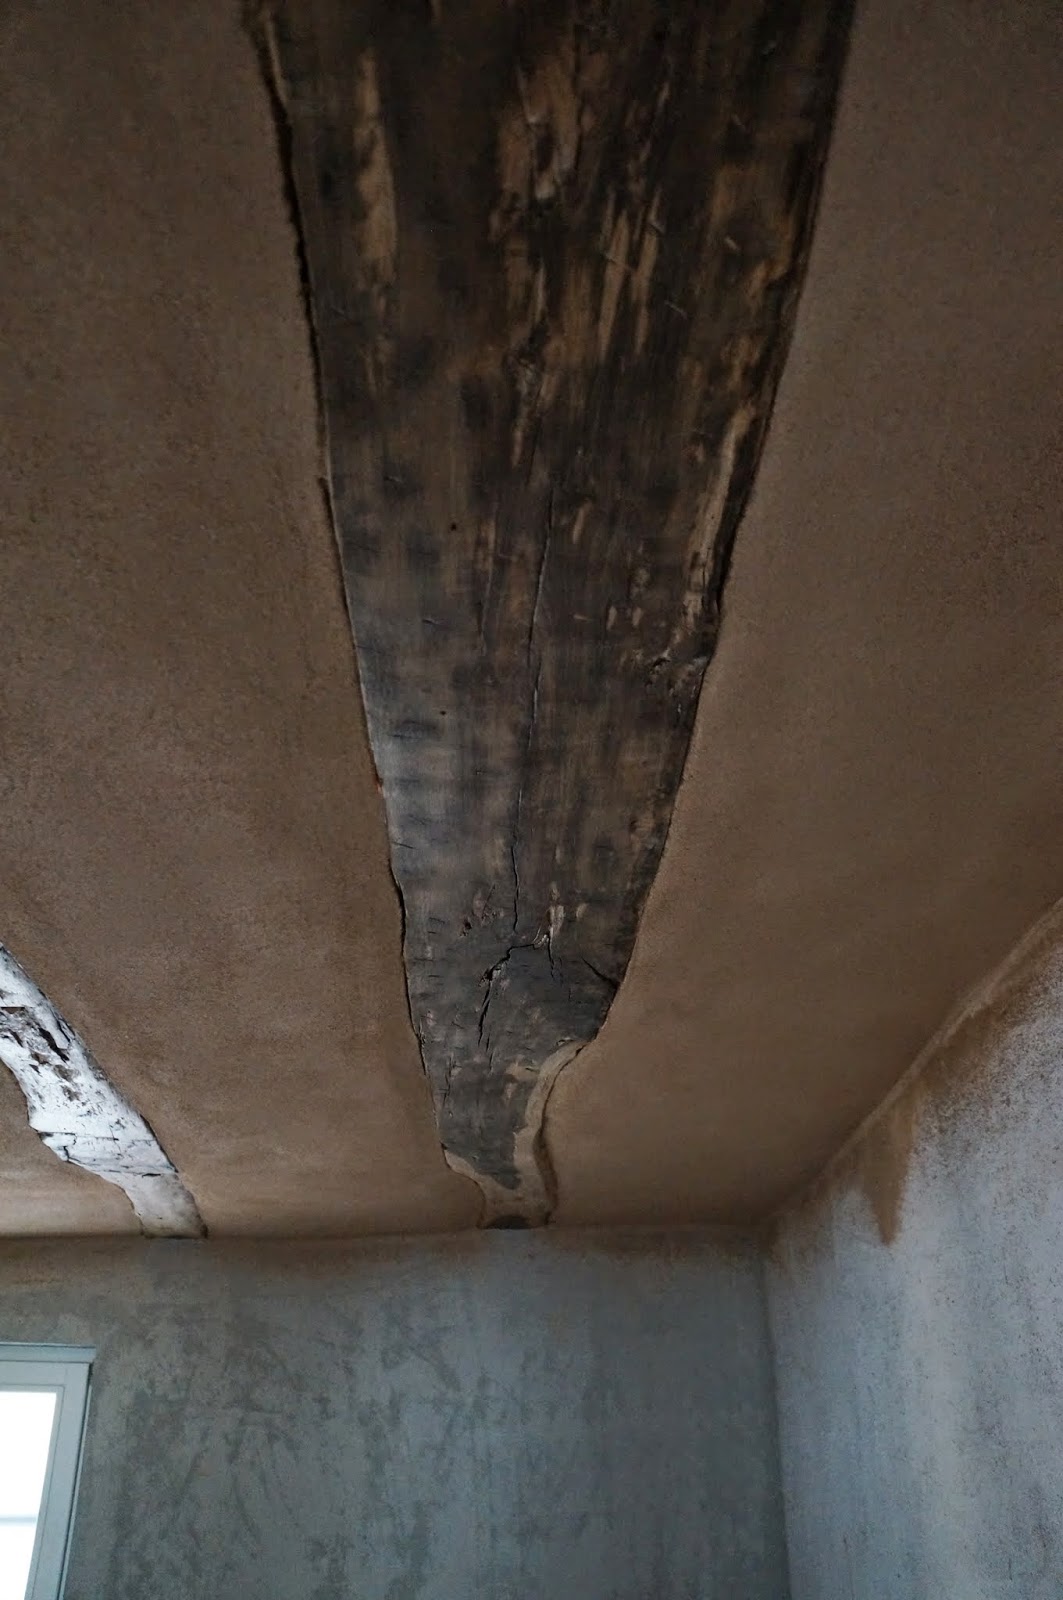
| First floor bedroom |
 |
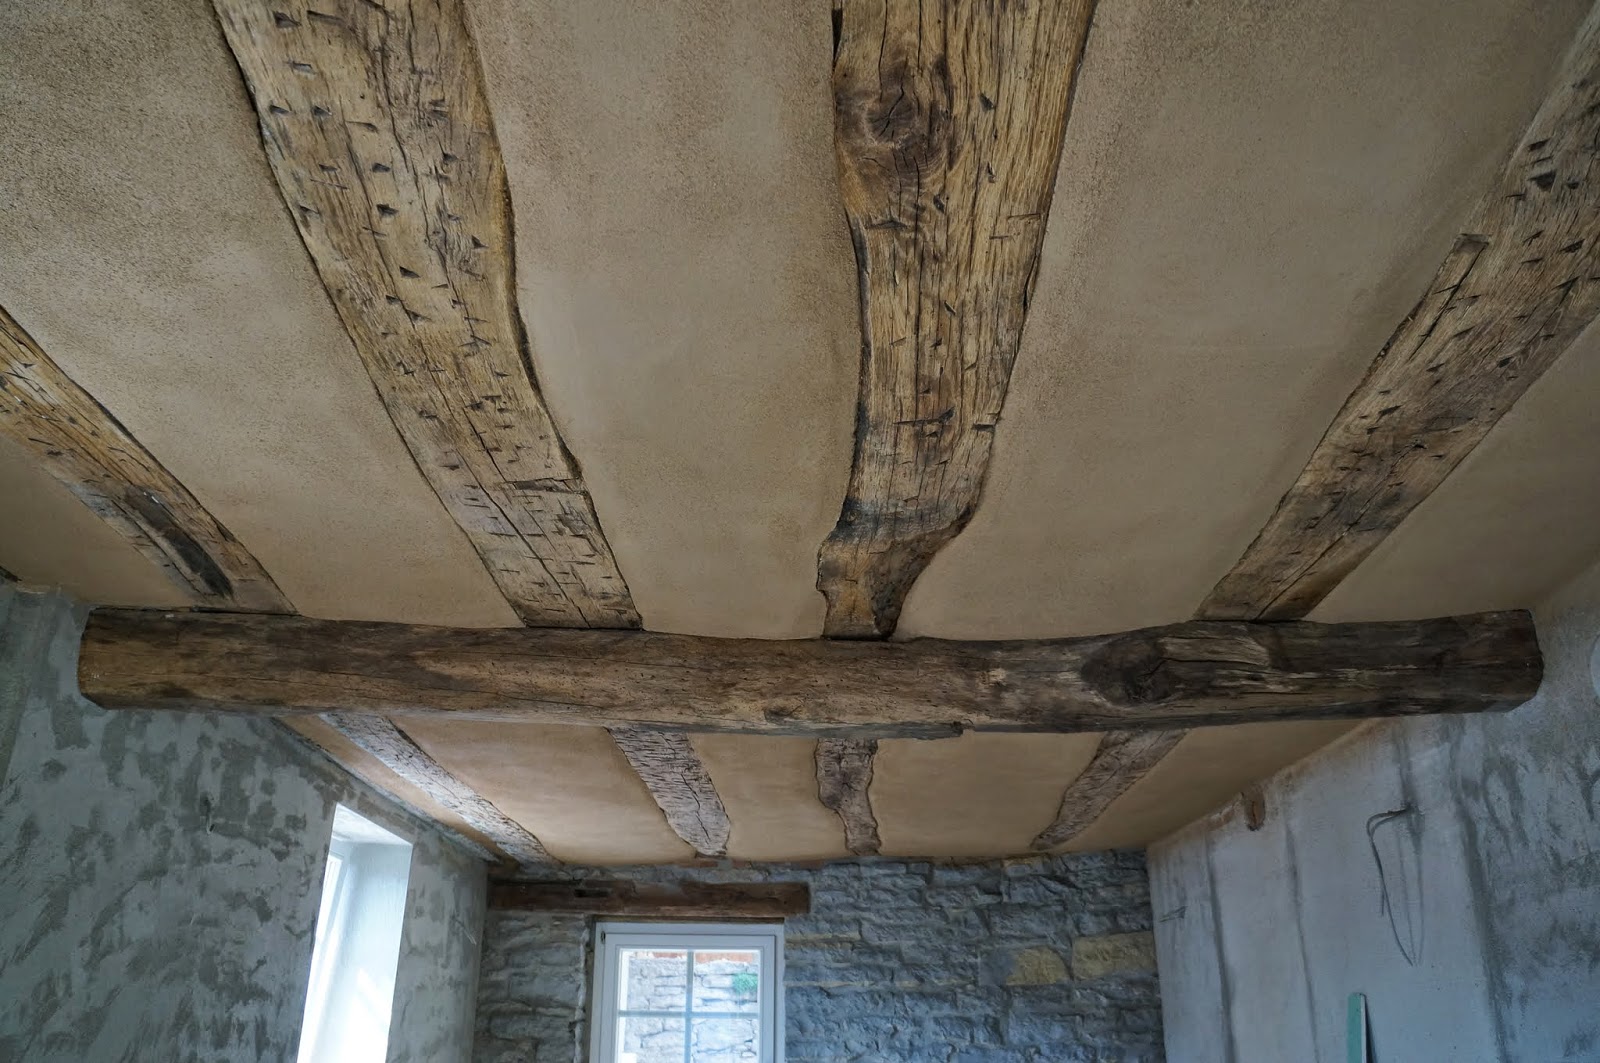
| First floor office ceiling |
 |
| First floor landing |
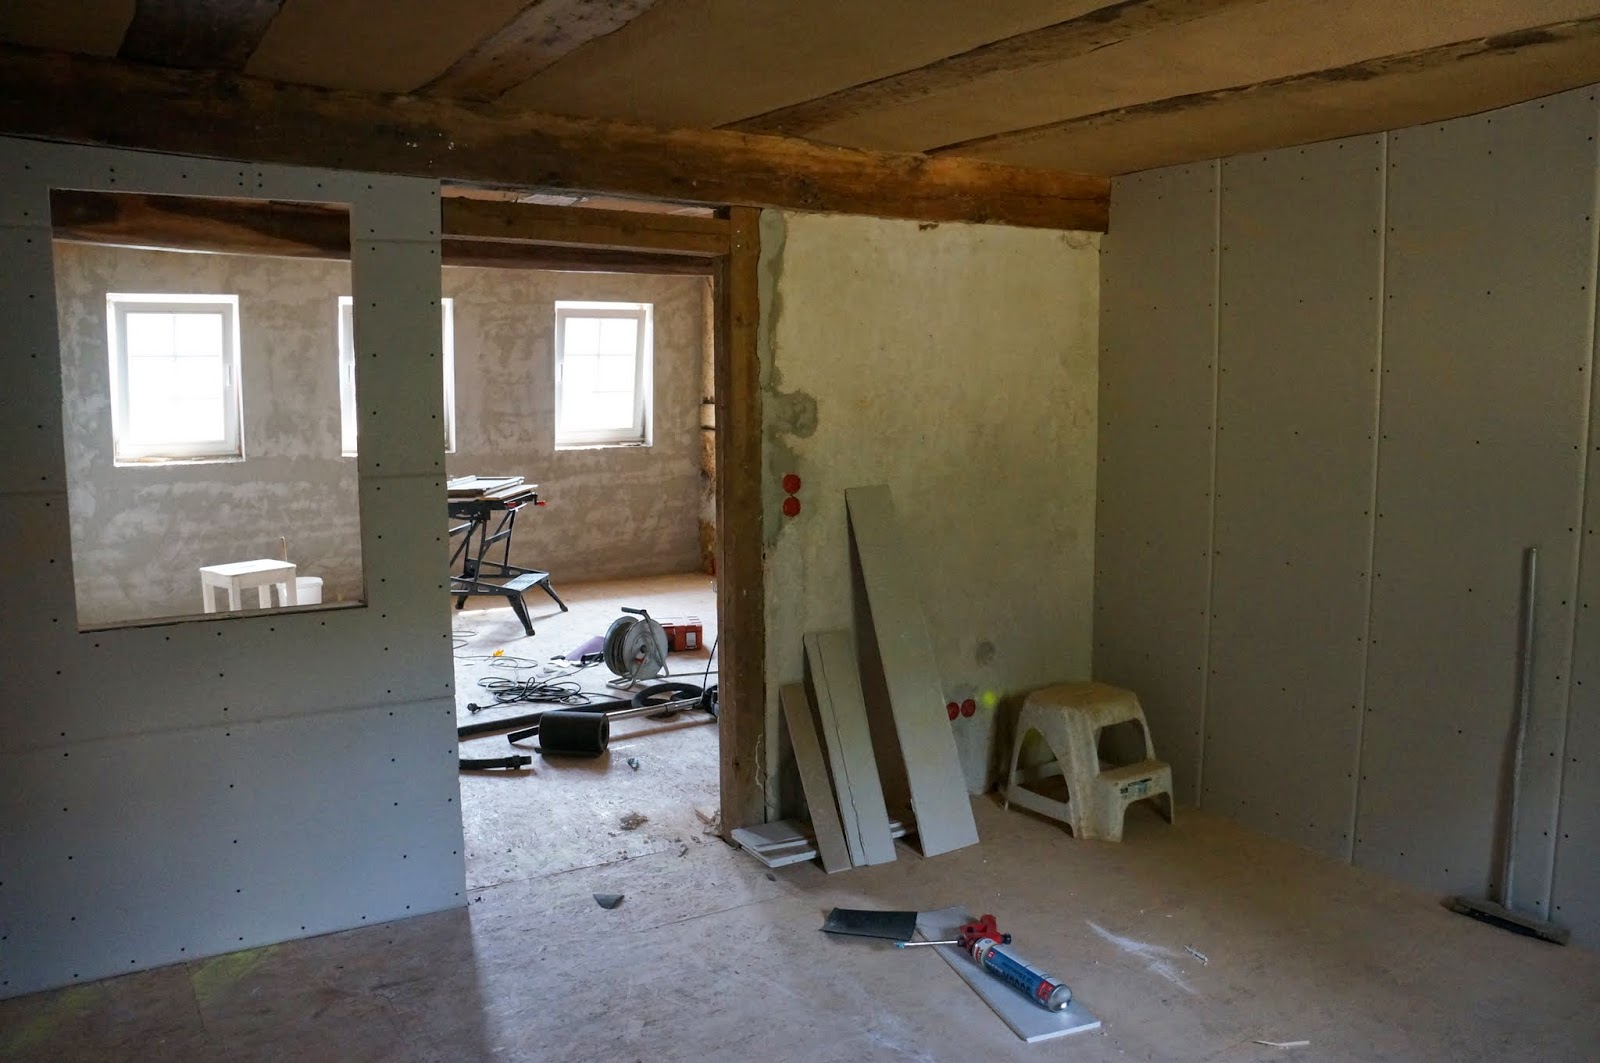
This week I also got back into building work after a week away on business, so I dived into plasterboard work, completing the kitchen ceiling and walls that required it, as well as the office, and some cable reorganising as I changed the lighting plans for the kitchen. The sockets are all ready too, so the kitchen is ready for final plastering, and of course, starting the floor.

Up on the second level, the ceilings are still at the base coat stage, as it took a lot longer to dry up there, due to the fact there was no preexisting layer of clay plaster to help soak up the moisture.

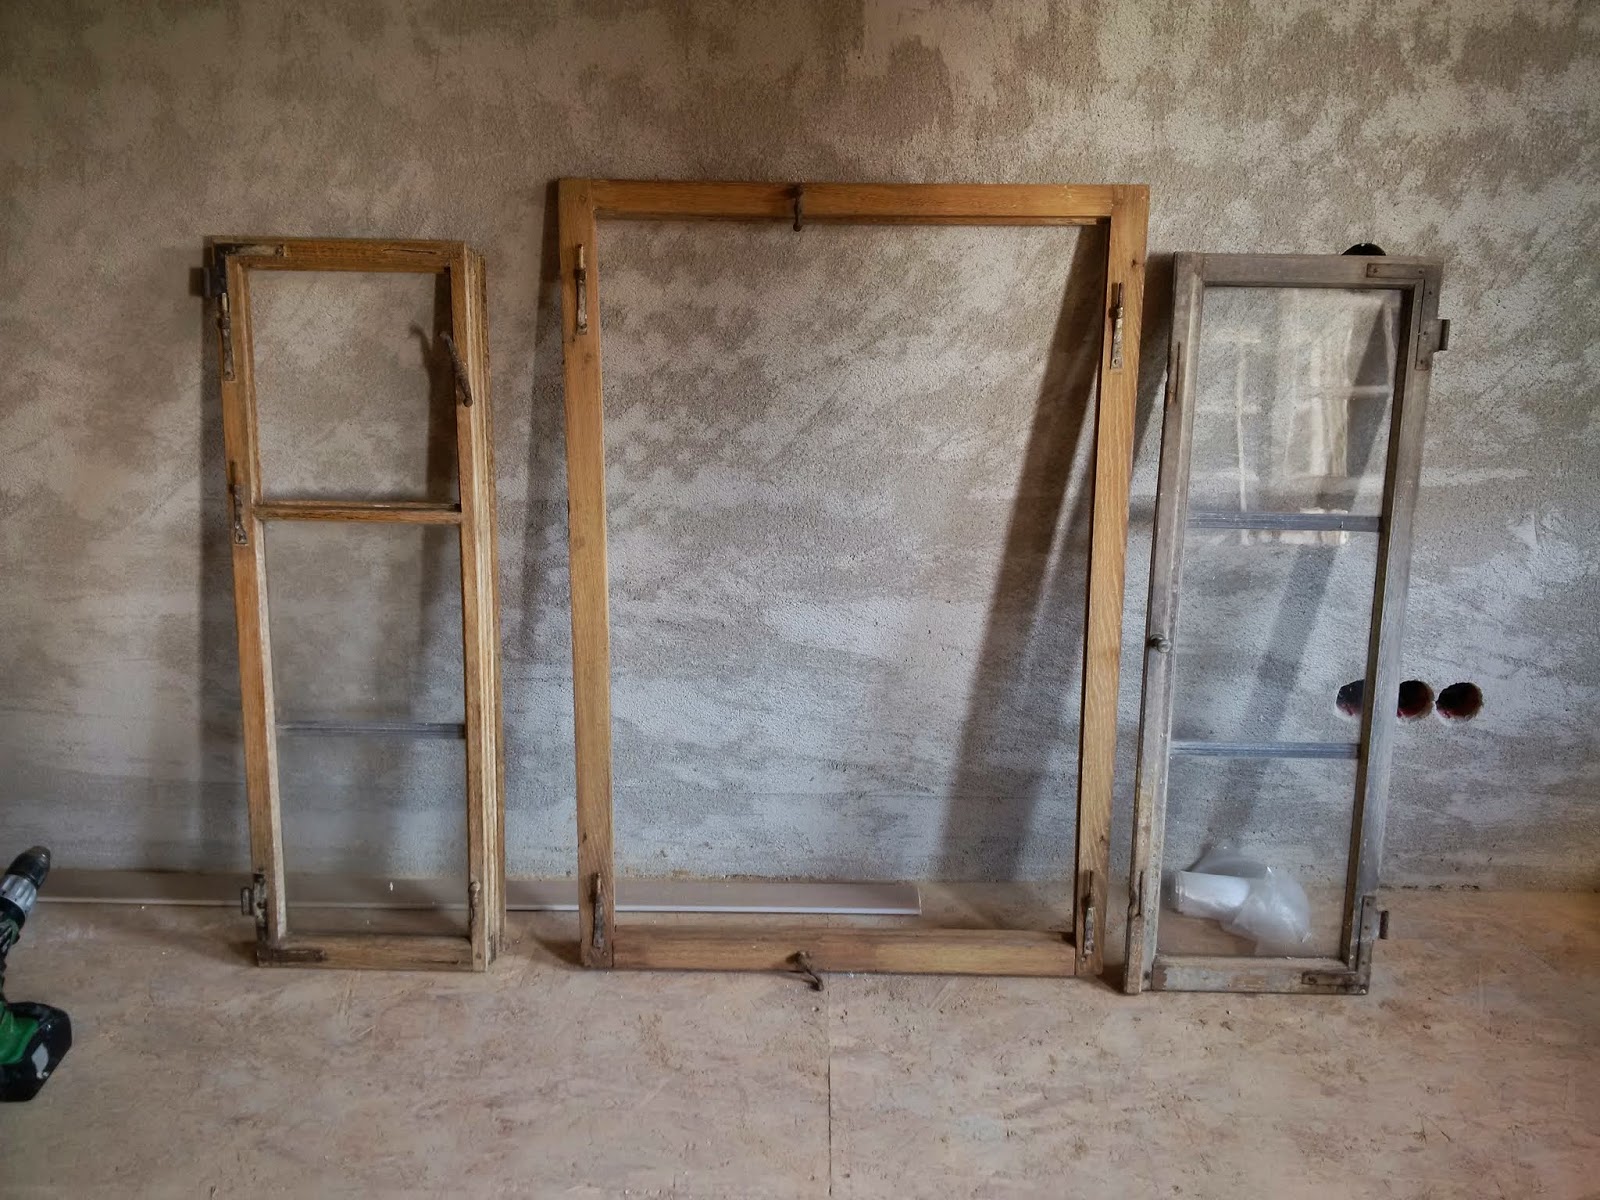
As a side project, my wife started cleaning up the old window frame we want to install between the bedroom and the office (in the hole in the wall in the photo below).
Although I'd cleaned it with water, it was still rather dark and a little flakey (see
parrt on the right in the photo below), so with a special scraping tool and a Fein Multimaster, it's been brought down to the original wood, and looks the better for it. It will look great once it's oiled or waxed.

And speaking of old things, the former owners dropped by yesterday with this on their trailer.

It's a wash stand that used to be in one of the bedrooms of our house. They'd gotten it restored and gave it to us as payment for letting them store a trailer and log splitter in the barn for the last three years. Might use it for the bathroom!
And if all the above wasn't enough, here's another quick YouTube vid walk-through to show progress.